
5 Steps to Creating an ADA Signage Site Audit
When we look at the ADA the focus is often mainly on signs, but in reality the core of ADA wayfinding is proper planning and consistency across a large number of signs. Before starting a sign program a site audit and overall plan is a necessity. These are the five steps needed to take to create and document a site audit for ADA building signage.
1. Building Layout: Floor Plan, Stacking Plan, and Building Model
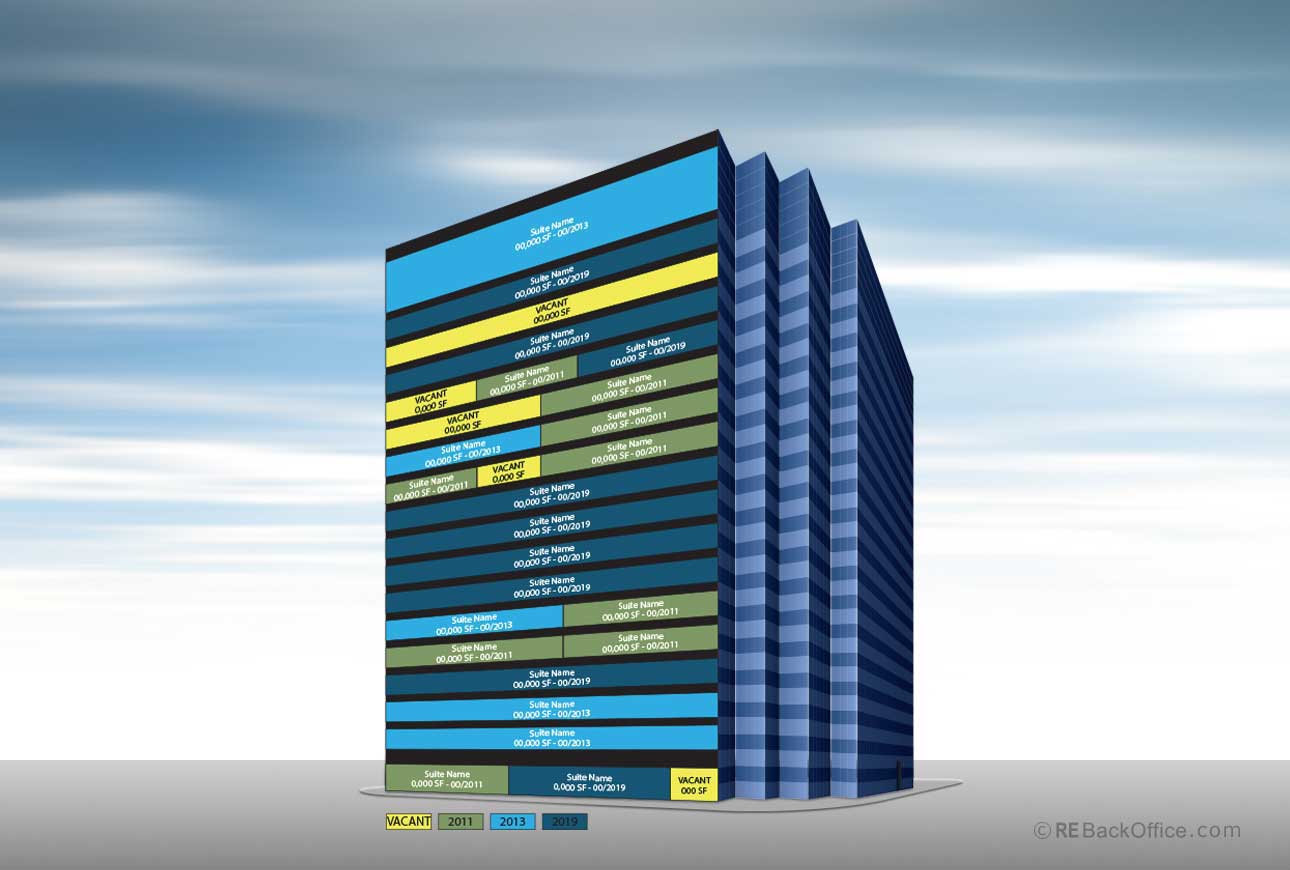
Stacking Plan
Before starting the planning process it is important to begin with the best documentation on hand, including a clear floor plan and stacking plan. The floor plan should contain all the key destinations in the facility while the stacking plan will show consistency of destinations across multiple floors. In addition if the architects have a building model for new construction this would be of great help.
If the sign fabricator does not have the appropriate software for creating design visualizations, photos of key locations would still support the planning process.
Documentation for Step 1:
- Floor Plan
- Stacking Plan
2. Create a Destination Plan on the Floor Plan
Before developing an address system, it is important to call out the key permanent named destinations in the facility. These are locations that need to be called out by name instead of an alpha-numerical system. These destinations include bathrooms, service rooms, and cafeterias. For specialized locations like hospitals, developing a destination nomenclature should be an in-depth process in coordination with the designers and client.
Documentation for Step 2:
- List of permanent destinations
- Floor Plan with permanent destinations listed
3. Create an Address Hierarchy on the Floor Plan and Stacking Plan
After the key destinations are accounted for all the other destinations will receive a specific address as part of an overall alpha-numeric system for the signs. Mark each room that requires an address with the address system you have already developed (Address system best practices will be addressed in another blog post). On the stacking plan make sure to show the general address system across multiple floors.
Documentation for Step 3:
- Description of address hierarchy and methodology
- Floor Plan with addresses listed
4. Photograph or Receive Visualizations of Key Sign Locations in a Database
Whether a formal database or spreadsheet is used it is important to make sure to closely monitor conditions for key signage to make sure there are no obstructions. For existing buildings it is easy enough to make a photographic survey, but for new buildings a visual building model may be available that details key locations for signage.

Database programs like Identia are built to combine floor plans, schedules and survey pictures.

For new buildings see if you can receive a model of key locations or work with the architect’s Building Information Mode(BIM). You can also produce your own model using cheap modeling software like Sketchup of Blender.
Many architects develop software programs like Revit to link databases and visual site models. If working with an architect make sure that the information you are giving and receiving can be given in a format that will work with the building models the architect is developing. They will be looking to make sure their designs can fit as much information into the model as possible.
Plan your ADA signage plan with Nova Polymers’ BIM objects.
Documentation for Step 4:
- Database or spreadsheet containing destination names, addresses, locations and picture information for key sign locations.
- Floor Plan keyed to the database.
5. Mark Fire Exit and Evacuation Map Locations on the Floor Plan and Stacking Plan
It is important to finish with marking on the plan all the specific exit information based on the specific state and local codes being employed. This map should also serve as the basis for the development of the final evacuation map that will appear on each floor. It is also a good idea to mark out the evacuation roots related to each floor.

Evacuation Plan
Documentation for Step 5:
- Egress plan with routes delineated
- Location plan showing exit signs, floor landing signs, and egress maps